DIY Lighting Projects: How to Make Unique Lamps and Shades
Unleashing Creativity Through DIY Lighting
Transforming your living environment does not always require professional help. With DIY lighting projects, you can create unique lamps and shades that reflect your personal style. Whether you want to brighten up a cozy reading nook with a warm glow or craft a statement piece for your living room that sparks conversation, the possibilities are endless and entirely personalized.
When it comes to materials, there is a wide variety to choose from, allowing you to tailor your lighting to your aesthetic preferences. For instance:
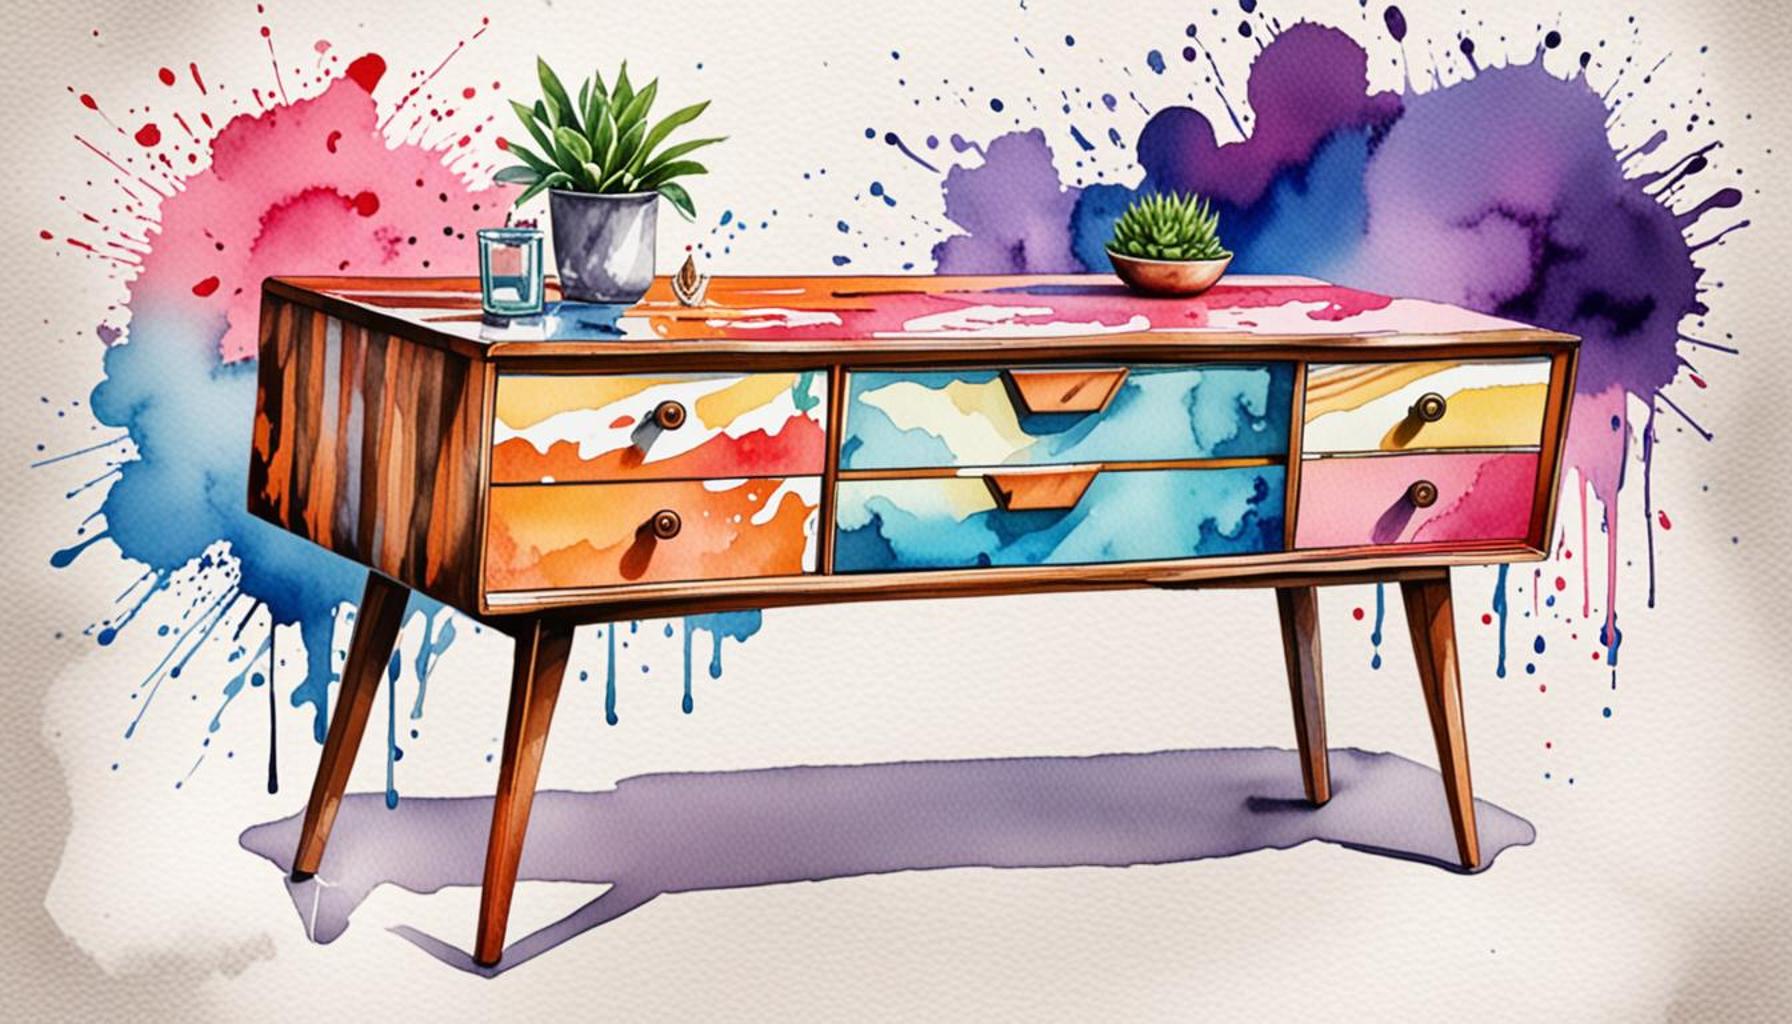
- Wood: Imagine a rustic lamp crafted from reclaimed wood sourced from an old barn or pallet. You can create a sturdy base, and choose to leave it raw for a natural look or stain it to match other furniture. This not only enhances the warmth of your space but is also an environmentally friendly choice.
- Fabric: A soft, textured shade made from colorful textiles can transform the ordinary into the extraordinary. Think about using vintage fabrics, such as a discarded tablecloth or even a piece of your favorite clothing that has seen better days. By mixing patterns and colors, you can design a shade that perfectly fits your interior design scheme, whether it’s boho-chic or modern minimalist.
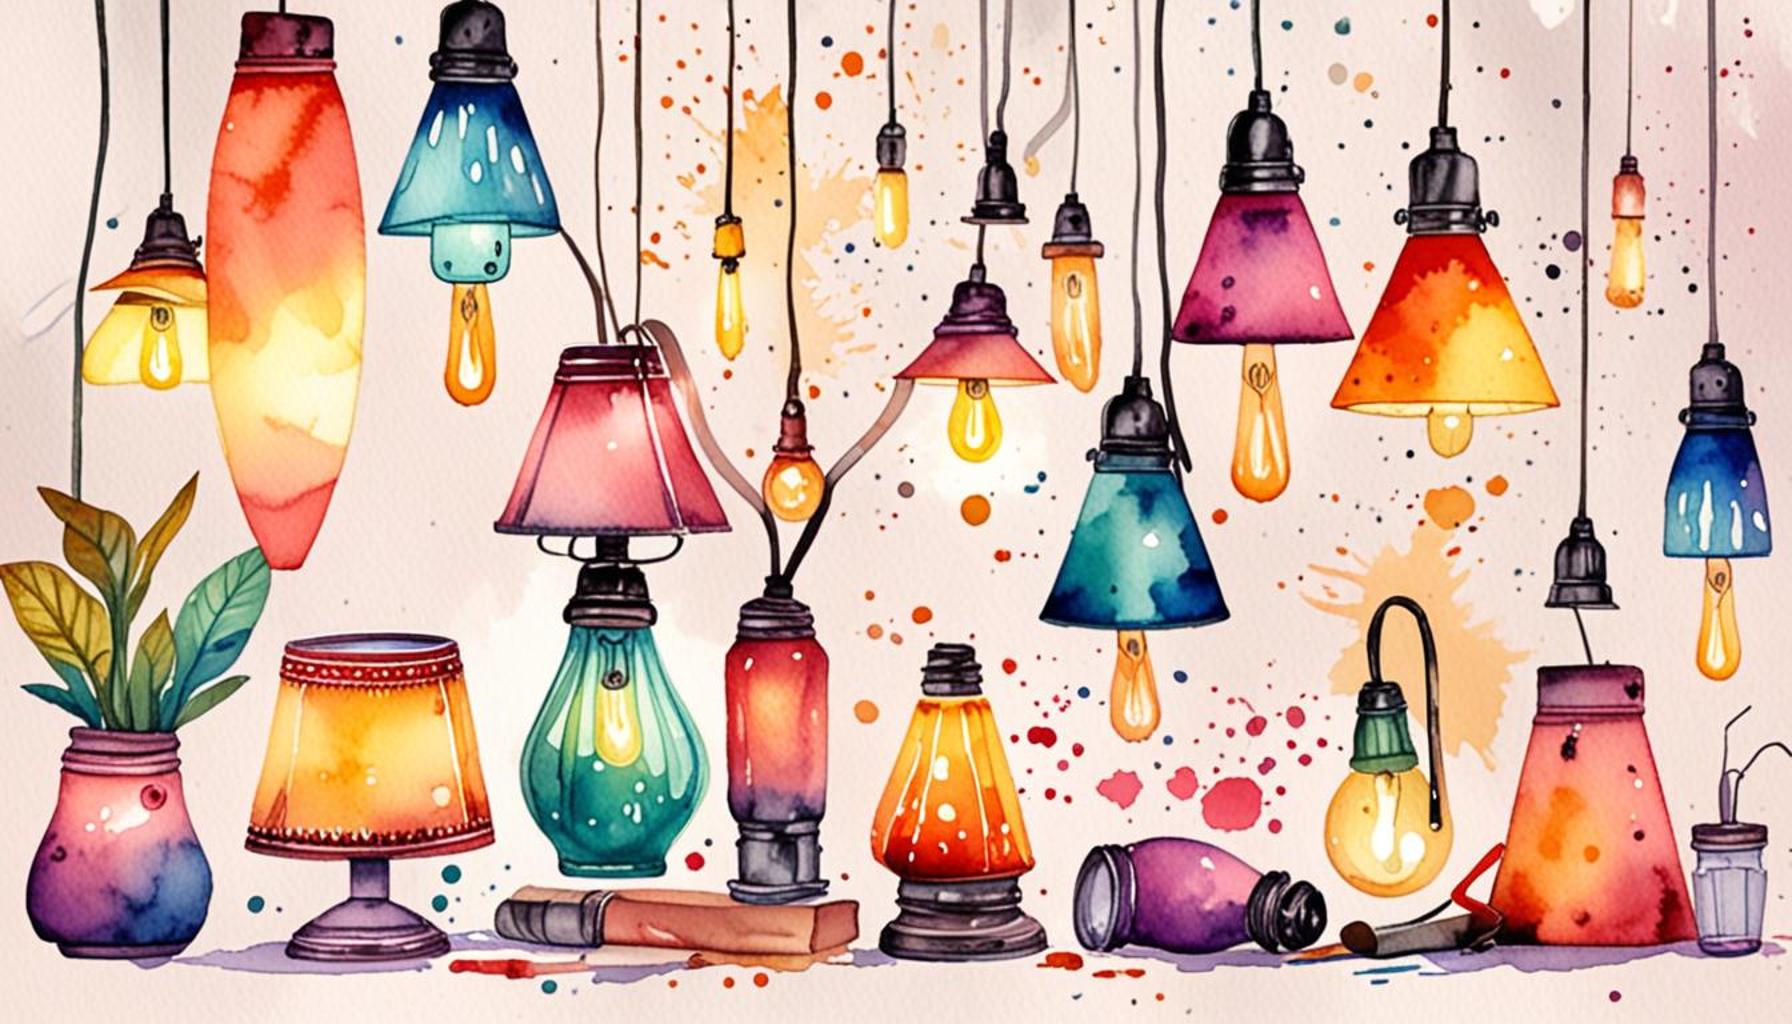
- Glass: Using mason jars or vintage bottles can create a chic, rustic look. Fill these containers with twinkling fairy lights for a magical effect or pendant lights that dangle elegantly from the ceiling. This project not only offers aesthetic appeal but can also serve as a fantastic way to reuse and upcycle materials, giving new life to items that might otherwise go to waste.
Creating your own lighting not only adds a touch of personality to your home but also provides several enticing benefits:
- Save money by avoiding costly store-bought options, which can sometimes be overpriced without offering the unique charm and character of a DIY project.
- Customize your lighting to fit any space perfectly, ensuring that each room benefits from the right amount of illumination and vibe that matches your lifestyle.
- Experiment with innovative designs, allowing you to impress family and friends with your creativity and flair for design. Personalized lighting can often become a focal point of discussion during gatherings.
In this article, we unveil step-by-step guides and essential tips for crafting stunning lamps and shades that will undoubtedly reflect your skill and creativity. Prepare to explore your artistic talents and shine a light on your DIY skills as you embark on this exciting journey. From ideation to execution, let your imagination guide the way to a brightly lit future filled with personalized illumination.
DIVE DEEPER: Click here for sustainable DIY inspiration
Inspiration for Your DIY Lighting Projects
When embarking on DIY lighting projects, the first step is often finding inspiration that resonates with your personal style. From vintage charm to contemporary elegance, each lamp or shade you create can be a testament to your artistic flair. Here are some creative ideas to kickstart your brainstorming:
1. Upcycled Materials
One of the most exciting aspects of DIY lighting is the ability to repurpose materials you may already have at home. Consider using:
- Old wine bottles transformed into stunning pendant lights. Simply remove the labels and add a light bulb socket.
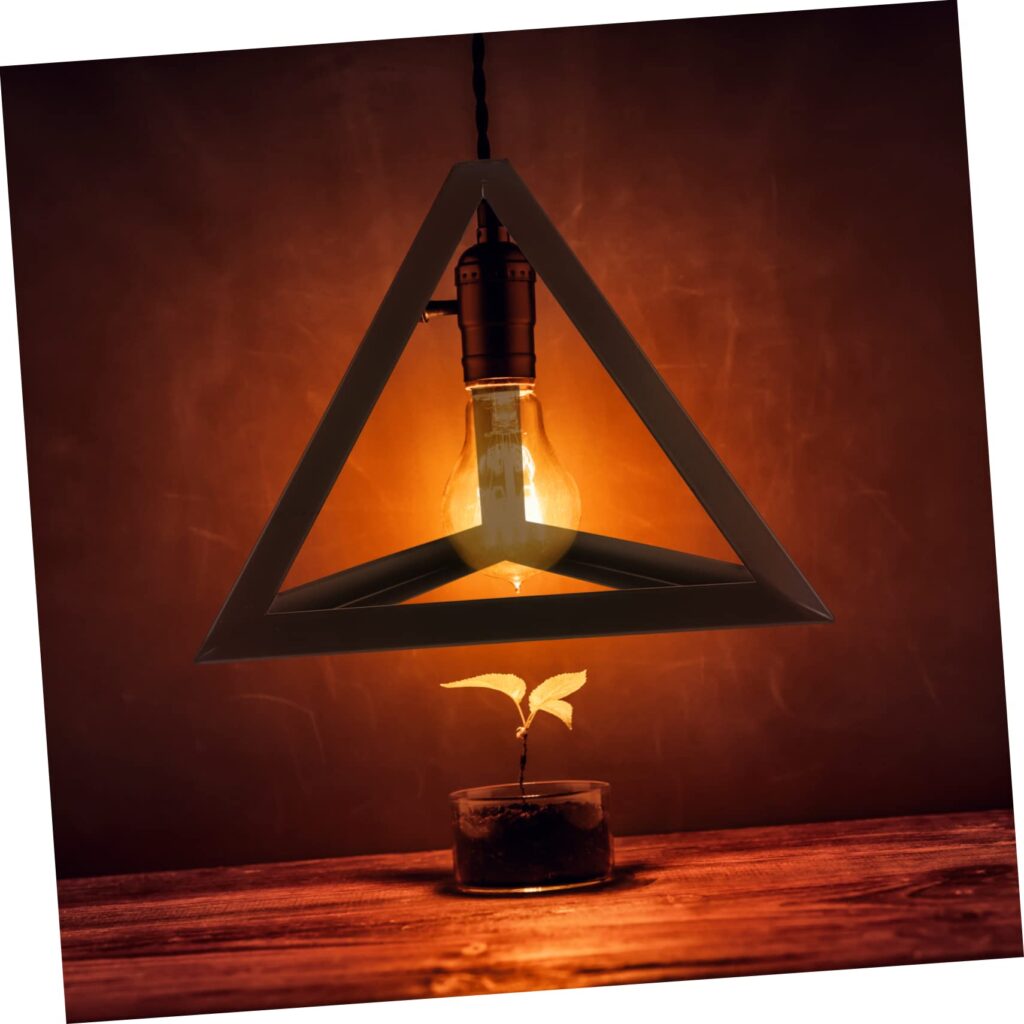
- Chain-link fencing wrapped around a lightbulb to produce a striking industrial-style lamp. The contrasting materials create a bold statement piece that serves as an interesting conversation starter.
- Birdcages that can elegantly house light sources. Paint or embellish the cage to suit your decor, and watch as the inner light dances through the bars.
2. Themed Designs
Consider designing lamps or shades inspired by themes or specific elements that resonate with you. Some popular options include:
- Nature motifs: Create a lamp with a base designed like a tree trunk or one adorned with leaves, calling to mind the peace of the outdoors.
- Travel inspirations: Use maps, postcards, or souvenirs from your travels to enhance a lampshade, turning your lighting into a personal memory.
- Artistic flair: If you have a passion for art, consider using canvas or acrylic sheets that can be painted or drawn upon, incorporating your artistic talent into your lighting design.
3. Techniques and Tools
The beauty of DIY lamps and shades lies not only in the materials used but also in the techniques employed. Familiarizing yourself with basic tools can elevate your project quality significantly. Essential tools to consider include:
- Drill: Use it for creating holes in wood or glass for the wiring and fixtures.
- Hot glue gun: Perfect for assembling delicate materials like fabric or creating a secured bond between components.
- Paint or spray paint: Transform outdated looks with a fresh coat that signifies your design choices.
Additionally, safety is paramount while handling tools or working with electrical components. Always ensure that you are following safety guidelines and using the correct materials for any electrical project. A willingness to learn and explore new techniques will enhance your prowess in the DIY world.
Your imagination is the limit, and the joy of crafting your lighting projects can fill your home with unique pieces that express who you are. With each project you take on, you’ll find an opportunity to develop your skills, learn new tricks, and create light fixtures that will be the envy of your friends and family.
| Category | Description |
|---|---|
| Customization | Tailor your lamps and shades to match any decor style or color scheme. |
| Cost-Effectiveness | Create unique lighting solutions for a fraction of the price of store-bought lamps. |
With DIY lighting projects, anyone can delve into the world of creativity and innovation. Imagine crafting a lamp out of repurposed materials; this offers both an opportunity to express personal style and promote sustainability. Not only can you dictate the aesthetic of your home, but you can also make use of inexpensive items readily available at local thrift shops or online marketplaces.Furthermore, through projects like these, individuals can gain a newfound appreciation for crafting and home improvement. The satisfaction derived from building something unique with your own hands adds a layer of personalization and pride that commercial products cannot provide. Start exploring your own DIY lighting journey today!
DISCOVER MORE: Click here to learn about the power of art therapy
Crafting Your Own DIY Lighting Solutions
Now that you have gathered inspiration and familiarized yourself with the necessary tools, it’s time to delve into the crafting aspect of DIY lighting projects. Creating a unique lamp or shade can be an enjoyable journey, allowing you to infuse your creativity into each piece. Below, you will find step-by-step guides and detailed instructions for several projects, providing a solid foundation for both beginners and seasoned DIYers.
1. Rustic Wooden Lamp
Bring a touch of nature indoors with a rustic wooden lamp. This project is straightforward and offers the chance to use reclaimed wood, emitting a sustainable vibe:
- Materials Needed: A wooden block (or several smaller pieces to create a stacked effect), a light socket, a light bulb, wiring kit, sandpaper, wood stain or paint, and a lampshade.
- Step 1: Choose your wooden piece and sand it down to remove rough edges and imperfections.
- Step 2: Apply wood stain or paint if desired, allowing it to dry completely.
- Step 3: Drill a hole through the wood to pass the electrical wiring and install the socket according to the instructions in your wiring kit.
- Step 4: Attach the lampshade and insert a light bulb. Your rustic lamp is now ready to illuminate your space with warmth!
2. Paper Lanterns for Mood Lighting
If you’re looking for a charming way to add mood lighting, consider creating paper lanterns. These are ideal for both indoor and outdoor use:
- Materials Needed: Lightweight paper (like rice paper), scissors, a craft knife, a pencil, LED tea lights, glue, or double-sided tape.
- Step 1: Cut your paper into your desired shape (traditional lanterns can be rectangular or round).
- Step 2: Decorate it using stamps, paints, or drawings that align with your personal aesthetic.
- Step 3: Assemble the paper into a 3D lantern shape using glue or tape.
- Step 4: Place an LED tea light inside the lantern. The soft glow will provide enchanting visuals without the risk of fire.
3. Fabric Shade Customization
Transforming a plain lampshade with fabric can create a stunning focal point in any room:
- Materials Needed: An existing lampshade, fabric (cotton or linen works well), scissors, fabric glue, and a trim (if you want to add embellishments).
- Step 1: Measure your existing shade and cut your fabric accordingly, allowing a little extra for overlaps.
- Step 2: Using fabric glue, start from one edge and place the fabric over the shade, smoothing out any bubbles as you work your way around.
- Step 3: Trim any excess fabric, and if desired, glue a decorative trim around the top and bottom edges of the shade.
- Step 4: Allow everything to dry completely before reattaching the shade to the lamp base.
With these projects, you can not only enhance your living environment but also enjoy the rewards of your handiwork. Each DIY lamp or shade reflects your individuality and commitment to craftsmanship, proving that with a little effort and a few materials, you can create lighting solutions that are not just functional but impressively beautiful as well.
EXPLORE MORE: Click here for creative sand sculpting techniques
Final Thoughts on DIY Lighting Projects
As we wrap up our exploration of DIY lighting projects, it becomes evident that crafting unique lamps and shades is not only a means of illumination but also a profound expression of personal style and creativity. Engaging in these projects, whether you’re creating a rustic wooden lamp, whimsical paper lanterns, or customizing fabric shades, allows you to transform ordinary materials into captivating focal points that reflect your individual taste.
The beauty of DIY lighting is that it tailor-fits your home’s aesthetic while promoting sustainable practices through the use of reclaimed or repurposed materials. Furthermore, the satisfaction derived from producing handcrafted items carries a level of fulfillment that store-bought alternatives often lack. Each project is an opportunity to experiment, innovate, and most importantly, to learn new skills, from basic woodworking to intricate fabric manipulation.
For those ready to start this illuminating journey, remember that the only limits are your imagination and resourcefulness. Delve into design inspiration through social media platforms or online tutorials, ensuring your projects not only light up your space but also align with current trends and your personal preferences.
By taking the plunge into the world of DIY lighting, you not only energize your home but also nurture a deeper connection with the spaces you inhabit. So gather your materials, unleash your creativity, and watch as your unique lamps and shades transform your living space into a warm, inviting sanctuary that is truly your own.